API Configuration Guide
API Keys
To access the REST API, you will first need to create an API Key. This can be done using your MyWhistleBox Account settings.First, sign into your MyWhistleBox main billing account. API Access requires an Enterprise Plan. If you don’t have an Enterprise Plan and would like to access the API, please contact MyWhistleBox Support via your account’s Help menu.
After signing in, open your Account Settings. You should see an Api Keys tab similar to this:
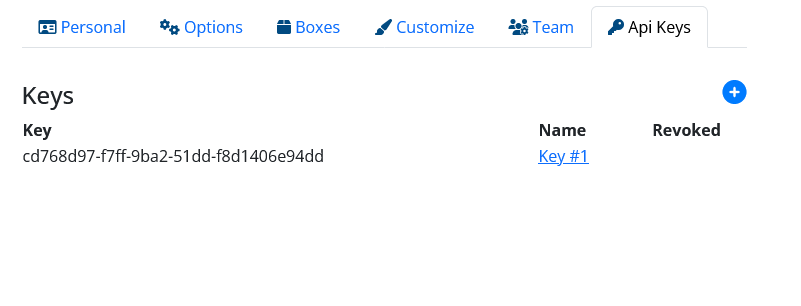
To generate a new Key, click the plus sign. You can create multiple keys for different systems. Each key has a name for internal reference. If you want to change the name or revoke the key, click the Name link.
Unused keys should be revoked to assure no unauthorized use.
Once you have a key, you can copy and paste it to your integration code to authorize all your api calls.
API Permissions
Optionally, you can control which operations the API can use via API Permissions. The API utilizes the same permission struture as Team Members. By default, an API Key has full permissions.If you'd like to constrain an API Key to a specific set of operations, open the Account Settings Team Tab:
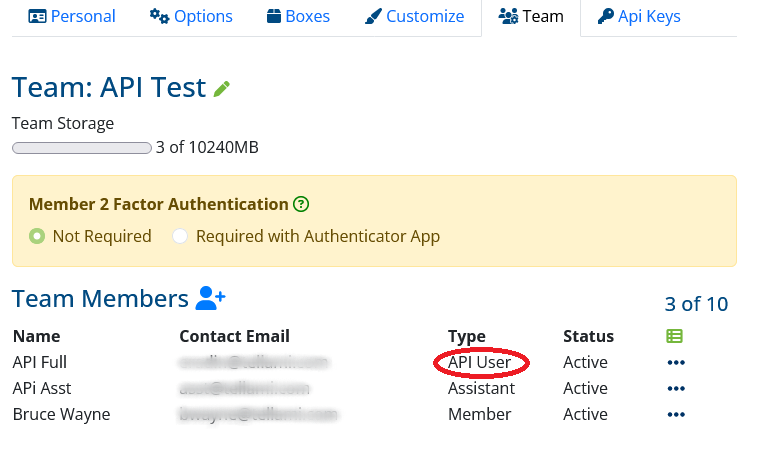
Add a Team Member with the API User type and save. Once the member is created, you can use the action menu () to set Box Permissions like with any other Team Member.
Finally, return to the API Key tab, edit the Key properties and select the new API User you just created to apply the permissions. API Users can be assigned to any number of Keys.

Next step, see the API Curl Guide.